Why Use Rectangles?
One of the key concepts in pygame is working with rectangles. They allow you to position and move things around the screen and they are also used for collision detection. In fact, they are such a key part of pygame that they have their own class.
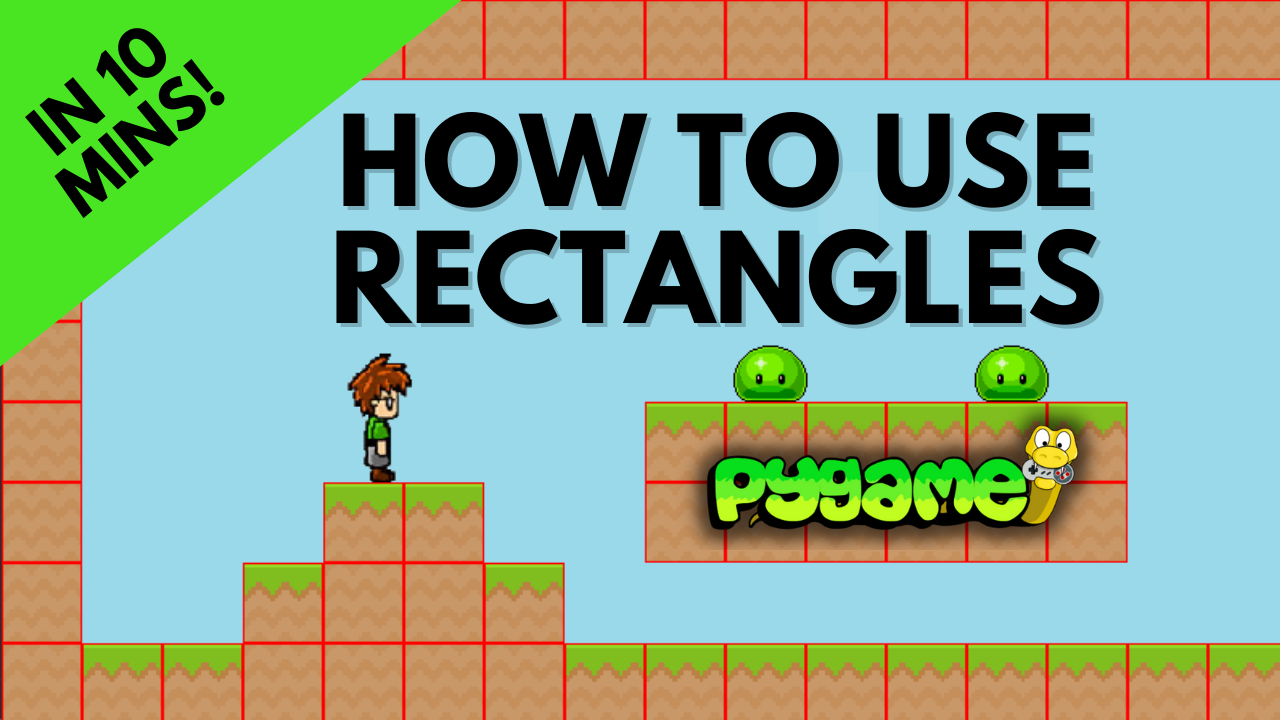
These screenshots show examples of my games. The entire level is built with rectangles, they just aren’t visible in the finished game:
Shooter Game:

Platformer Game:

Let’s look at how to create rectangle objects.
Define a Rectangle
To create a rectangle from scratch, we call the Rect function and pass the necessary arguments to create a new rectangle object.
The inputs needed are the x and y coordinates and the width and height.
Run the demo code below and take a look at the output in the console (I have included a print statement to output the rectangle data)
					import pygame

pygame.init()

SCREEN_WIDTH = 600
SCREEN_HEIGHT = 400

screen = pygame.display.set_mode((SCREEN_WIDTH, SCREEN_HEIGHT))
pygame.display.set_caption("Working With Rectangles")

rect_1 = pygame.Rect(200, 100, 150, 100)

run = True
while run:

  print(rect_1)

  for event in pygame.event.get():
   if event.type == pygame.QUIT:
      run = False

  pygame.display.flip()

pygame.quit()
Notice that the rectangle isn’t shown on the game window. For that we need to call the draw function.
Output:
When created this way, the x & y coordinates define the top left corner of the rectangle, and the width and height are added from that point. If I set the start point to (0, 0), it will create the rectangle in the top left corner of the screen.
To show the rectangle on the screen, we can use the draw function that was covered in the previous tutorial section on Shapes. Add the line pygame.draw.rect(screen, (255, 0, 255), rect_1) to your game loop and you will see the rectangle in the game window.

Rectangle from Image
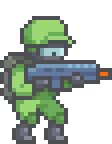
The second way of creating rectangles is by deriving them from another object, such as an image. We’ll use this soldier image and create a rectangle from it. This is done using the get_rect() function.
Updated Code:
					import pygame

pygame.init()

SCREEN_WIDTH = 600
SCREEN_HEIGHT = 400

screen = pygame.display.set_mode((SCREEN_WIDTH, SCREEN_HEIGHT))
pygame.display.set_caption("Working With Rectangles")
soldier = pygame.image.load("soldier.png").convert_alpha()

rect_1 = pygame.Rect(200, 100, 150, 100)
rect_2 = soldier.get_rect()

run = True
while run:

  print(rect_2)

  pygame.draw.rect(screen, (255, 0, 255), rect_1)
  pygame.draw.rect(screen, (0, 255, 255), rect_2)

  for event in pygame.event.get():
   if event.type == pygame.QUIT:
      run = False

  pygame.display.flip()

pygame.quit()
In the code above I have loaded in the soldier image and created a rectangle from it. Then I draw that rectangle together with the first one and print out its properties in the console.
It’s positioned at coordinates 0, 0, the width is 112 and the height is 144, which is the same size as the image itself. I didn’t define any of these parameters, pygame used the boundaries of the image to create the rectangle for me.
We can draw the image onto the screen now together with the rectangle to see how it looks. To do this, add screen.blit(soldier, (0, 0)) to your game loop AFTER the code in line 21 which draws the rectangle.
Output:

Modify A Rectangle
There are different things we can change on these rectangles. Firstly we can update their position on the screen by passing new x and y coordinates. Update the code from before to add a new line after line 13:
					rect_1 = pygame.Rect(200, 100, 150, 100)
rect_2 = soldier.get_rect()

rect_2.topleft = (200, 200)
This specifies the coordinates of the rectangle as (200, 200), so when you run the code you should see the soldier’s rectangle has moved.

The rectangle has moved but the soldier image has stayed where it was. Since that rectangle is associated with the soldier image, we want them to move together. We will come to this shortly.
Notice that I specified the .topleft attribute. Pygame rectangles have a number of these attributes to help position them. You can pass coordinates to any of these when positioning your rectangles.
Edges and Center:

Corners and Midpoints:

Position Image Using a Rectangle
Earlier on, when we moved the soldier’s rectangle, the soldier image stayed where it was. To resolve this, we can use the rectangle to position the image on the screen. If we change the previous code from screen.blit(soldier, (0, 0)) toscreen.blit(soldier, rect_2), the soldier will be drawn in the position of the rectangle.

This is a key concept of how rectangles are used in pygame. In a finished game what you are seeing is just the sprites, but their positions and collisions are actually being done by the rectangles behind the scenes. We move the rectangle first, then we draw the image in its place.
Moving Rectangles
So far we have looked at creating rectangles, updating their properties and using them to position images. Next let’s look at how to move and manipulate rectangles in real ime.
Try out the code below. I have included some keyboard events, which modify the rectangle’s x and y coordinates. Since the soldier image is being drawn at the position of the rectangle, it also moves at the same time.
					import pygame

pygame.init()

SCREEN_WIDTH = 600
SCREEN_HEIGHT = 400

screen = pygame.display.set_mode((SCREEN_WIDTH, SCREEN_HEIGHT))
pygame.display.set_caption("Working With Rectangles")
soldier = pygame.image.load("soldier.png").convert_alpha()

rect_2 = soldier.get_rect()

rect_2.topleft = (200, 200)

clock = pygame.time.Clock()

run = True
while run:

  #refresh the screen at 60 FPS
  clock.tick(60)

  #fill the background white
  screen.fill((255, 255, 255))

  #player controls
  key = pygame.key.get_pressed()
  if key[pygame.K_a] == True:
    rect_2.x -= 5
  if key[pygame.K_d] == True:
    rect_2.x += 5
  if key[pygame.K_w] == True:
    rect_2.y -= 5
  if key[pygame.K_s] == True:
    rect_2.y += 5

  #draw the rectangle and soldier image
  pygame.draw.rect(screen, (0, 255, 255), rect_2)
  screen.blit(soldier, rect_2)

  for event in pygame.event.get():
   if event.type == pygame.QUIT:
      run = False

  #refresh display
  pygame.display.flip()

pygame.quit()
The above method directly alters the rectangle’s coordinates. Another way to do this is using the .move() or .move_ip() methods. The .move() method will keep the original rectangle and return a new one that has been moved so I prefer to use the.move_ip() method. This moves the original rectangle
The _ip at the end stands for “in place” and can apply to other methods.
Change the movement code from before to:
					key = pygame.key.get_pressed()
if key[pygame.K_a] == True:
  rect_2.move_ip(-5, 0)
if key[pygame.K_d] == True:
  rect_2.move_ip(5, 0)
if key[pygame.K_w] == True:
  rect_2.move_ip(0, -5)
if key[pygame.K_s] == True:
  rect_2.move_ip(0, 5)
The .move_ip() method takes two variables as arguments – the distance to move in the x direction and the y direction. It then updates the rectangle’s position based on these so the result should be the same as before.
Both of these approaches to moving rectangles are valid so you can experiment with both in your projects.